Rosie Culkin-Smith, history teacher at Whalley Range High School espouses, the joys of the visualiser. She explains how it can be an effective tool to help raise attainment in the classroom.
What is a visualiser?
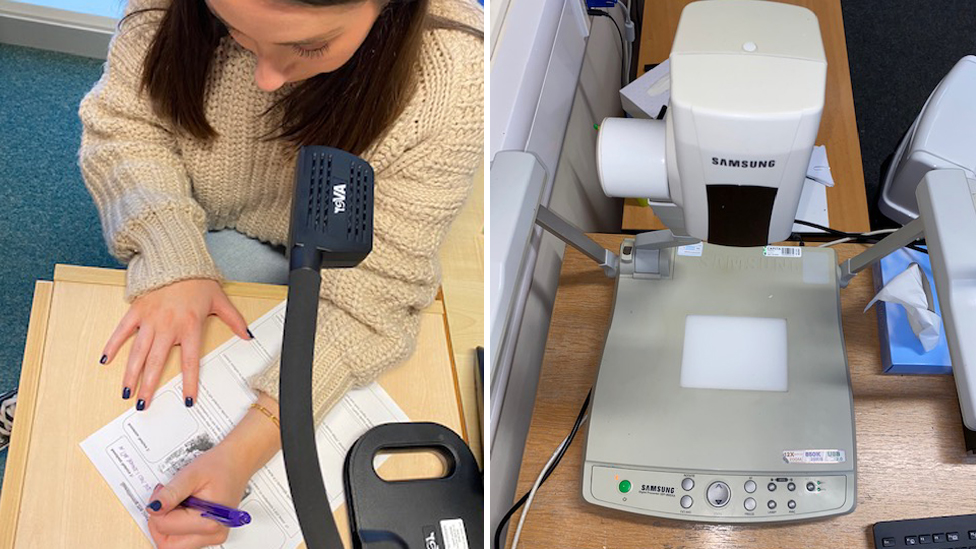
Using a visualiser is nothing new. In short, a visualiser is basically a camera with the ability to connect to an interactive screen, projector, interactive whiteboard, or PC monitor.
They can be incredibly useful but are often underused. One issue is that they are often misused and can foster passive learning.
What this article aims to show is that, used at the right time for the right element of learning, a visualiser could quickly become your best friend!
My visualiser and me
If you’re new to visualisers then you may need to move that big pile of textbooks, whiteboard pens (or hand sanitizer) off your desk or follow one of the many wires going into the back of your PC (as I did in my first few years of teaching).
Admittedly, and ashamedly in the first two years of my teaching career, my visualiser was a perfect shelf for which to store my ever-growing pile of worksheets and lesson plans (remember those!).
These days, I use my visualiser at least once in every single lesson.

Why I like visualisers
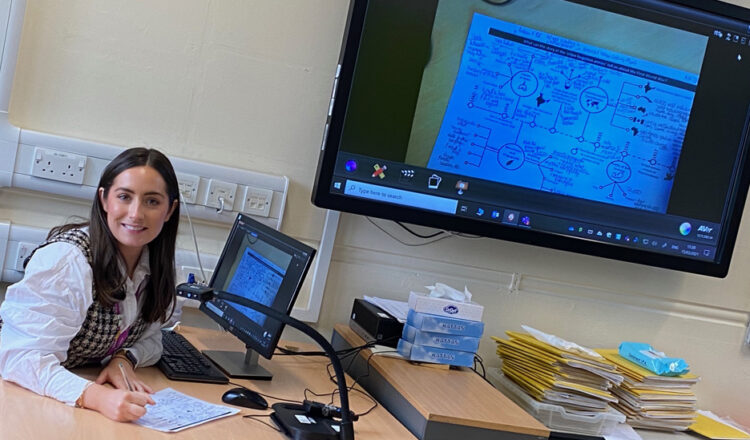
Firstly, the position of the visualiser being situated at your desk allows you to face the class as you demonstrate the annotation of piece of evidence or scaffold the structure of an exam question.
It allows you to maintain a connection with a) your class and b) the concept or idea being discussed. It allows them to see your thought process, and most importantly the human element of your working memory.
By this, I mean the crossings out and rephrasing. Greg Thornton (@MrThorntonTeach), in the History How To-s series builds on a long tradition of modelling by explaining that visualisers can become a “window into teaching” – giving the students an insight “into the mind for a teacher, who demonstrate their own vulnerabilities to pupils in real time””
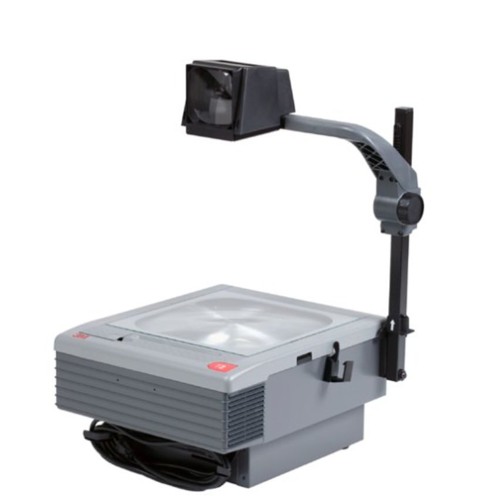
This is not new, many of you will have done this with an overhead projector (OHP) before computers.

Many more of you will remember your teacher writing essays out and rubbing out the mistakes with a wet finger.
“I have had classes I also would not dare turn my back to – so the visualiser provided a perfect antidote to this.”
Rosie Culkin-Smith
Teachers have always modelled and shared their thought process. I like to show my students that the goal is realistic and achievable, rather than presenting them with a pre-written answer displayed on perfectly-edited PowerPoint slides.
But I can do this on my whiteboard, I hear you say? Yes, this is completely possible – and there are times I absolutely love mapping out a mega timeline or essay plan on my board with my multi-coloured board pens.
However, I always felt disconnected from my class every time I turned my back.
Additionally, in quite simple terms, I have had classes I also would not dare
turn my back to – so the visualiser provided a perfect antidote to this.
Also, using a visualiser is straightforward and simple. Most visualisers are now connected to your PC or IWB by USB, which is run by an app or programme on your computer.
In most cases it is simply a click-and-go kind of thing, and one that I have a lot of time for in a contest of ever-changing technologies and ideas.
Finally, my main love for the visualiser is that it has student outcomes and achievement at its core.
The visualiser makes possible what I think is one of the most important parts of teaching and learning in the history classroom – modelling.
The case for the visualiser
The evidence to support the use of visualisers is largely informed by the scholarship behind modelling and feedback.
Way back in 2008, the Department for Children, Schools and Families, published, Get Going, generating, shaping and developing ideas in writing.
This report advocated supporting pupils via modelling at the point of writing.
Indeed, for the history teaching community modelling is essential for student outcomes, as the very nature of our discipline means we, as experts, have to help our students transform very abstract concepts and ideas into concrete ones, which are then to be written logically and grammatically on the pages of exercise books and exam papers.
There is no shortage of excellent History Scholarship on building the sequence of learning, showing connections and linking to previously taught content and concepts
The practical examples of this are everywhere in the History community – one example from The History Association from 2009 shows the importance explicitly planning the links and responses required for an enquiry on Magna Carta.
Your visualiser can support this: “A range of teaching methods was used, including short sketches…to portray simple scenarios from which the students could infer generalisations…”.
Most of the time the way I use my visualiser is supporting this idea. It is helping me to make links, push thinking, and support students critically evaluating the subject.
The History teachers have been confident adopters of pedagogical theories such as Rosenshine’s Principles of Instruction.
Rosenshine suggests that teachers should: present learning in small steps, model steps towards the goal, time to apply. Clearly there is nothing revolutionary about Rosenshine’s principles.
It is, essentially good practice. Moreover, it supports the great tradition of planning and teaching history via enquiry questions which was advocated by Michael Riley 20 years ago.
After all, an enquiry question approach, presents work in small steps. The skilled history teacher will also model how pupils should approach each step AND, she will model the type of writing or thinking required in the end task.
Four ways to use visualisers in the history classroom
Live Modelling – writing an essay or exam question under the visualiser in timed conditions in which students simply sit, watch and listen to my thought process.
Thinking aloud here is important as it shows your students the processes needed, and the selection of knowledge as part of the process.
I particularly like completing a ‘Walking Talking Mock’ in this fashion, as it also adds an instructional element to the worked example, including the planning element, utilisation of time, the structure and order of the paper etc.
This process also supports assessment and exam feedback.
Dictagloss – This was an idea presented by Lesley Ann McDermott
(@LA_McDermott) at one of my very first SHP conferences, in which the teacher would read aloud an excellent answer and the students would listen and write down as many key phrases as they can.
This is repeated until they think they have a comparable answer.
I developed this idea, by presenting my class with an average piece of writing (often referred to as a partially worked example), in which we would, by crowd sourcing (whole class participation) ‘gloss it up’ by deconstructing it, adding evidence, quotes, explanation etc. until we had a finished piece that we were pleased with.
I find this particularly useful as not only does it give students an opportunity for scaffolded guided deliberate practice, it also builds confidence and gives them ownership of the completed piece.
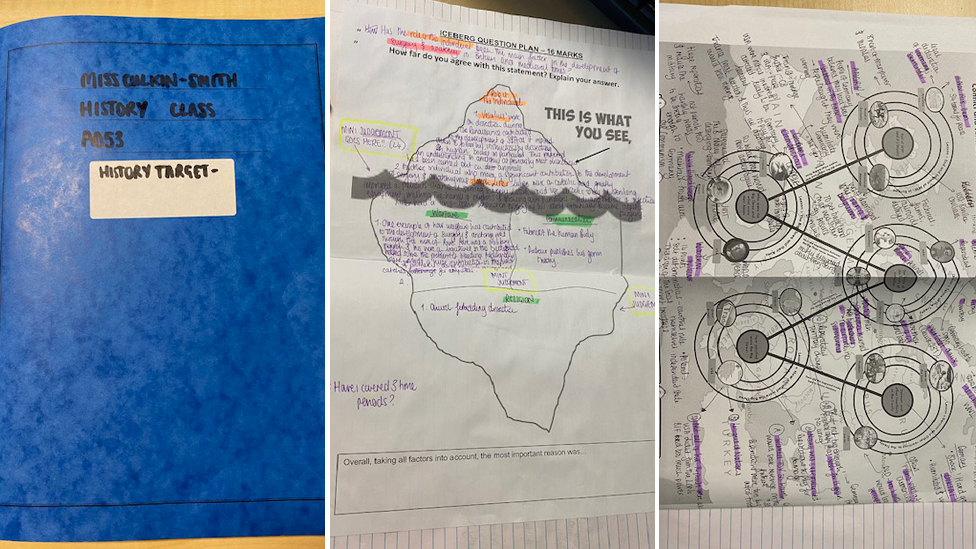
Modelling Book – Create a modelling book, that is an exercise book in which all the work in it has been entirely modelled by you.
Not only does this give you an opportunity to create beautifully handwritten and highlighted notes, it becomes a resource of which you can display excellence.
I found that many of the things I was modelling I would repeat later in the week or term.
It was useful to have to hand a finished version, of which we could then deconstruct as a class, or model in reverse. My modelling book is my pride and joy!

Exemplifying Excellence and Misconceptions – Live Marking
One of the best ways to use your visualiser is to share first class examples of students work with the class.
Not only does this offer praise, and explicitly showcase gold standard work,
but it raises expectations from your students as they aim to meet that excellence.
I would signpost this until the students are confident with the content and structure, then I would encourage their comments.
However, as the work of Dylan Wiliam shows that feedback has more impact when it is showing something specific that is missing.
This must not be generic statements such as; “more detail” or “key terminology needed”.
The feedback must be precise, given early in the learning process, and acted on immediately.

When to step away from the visualiser.
I know I have proved to you throughout this article just how in love I am with my visualiser.
However, there are times it has the opposite effect to the one described.
Over-reliance on it can lead to passive children who don’t try – why would they if you are going to give them the right answer eventually?
Being up and out our seats is so important when teaching, we have to see our students and look at those nodding heads to see who really gets it and who is just nodding the seconds away until lunch.
Sometimes the whole class don’t need the feedback, it is more appropriate for it to be delivered individually.
Furthermore, praise and showing off good work must be balanced with summative pieces of work.
We need students to understand the difference between intrinsic and extrinsic motivation if we want this to pay off when they sit their exams.
Finally, we don’t want children to leave school and think about their History lessons as time spent watching their teacher write under the visualiser.
They want you up in front of them, telling them the stories, giving them that explicit and direct instructions, and talking to them individually about how they are doing.
The Return!
As we return to the classroom we know that feedback and scaffolding are going to be important for helping students get ahead.
Your visualiser can play a massive part of that, but remember, the students have missed you so know when to get up and perform; that’s what teaching is!


Rosie Culkin-Smith is a History Teacher and Head of Year at Whalley Range 11-18
High School, part of the Education and Leadership Trust (ELT), Manchester
- Tags: Enquiry, Modelling, Visualisers


